TABLE OF CONTENTS
Organizing an event can be a daunting task, especially when it comes to managing guest lists and RSVPs. Traditional methods of sending out invitations and tracking responses can be time-consuming and prone to errors.
The RSVP function on the website builder tool is designed to simplify event planning, making it easier to send out invitations and track RSVPs, all in one place.
Adding the Event Component
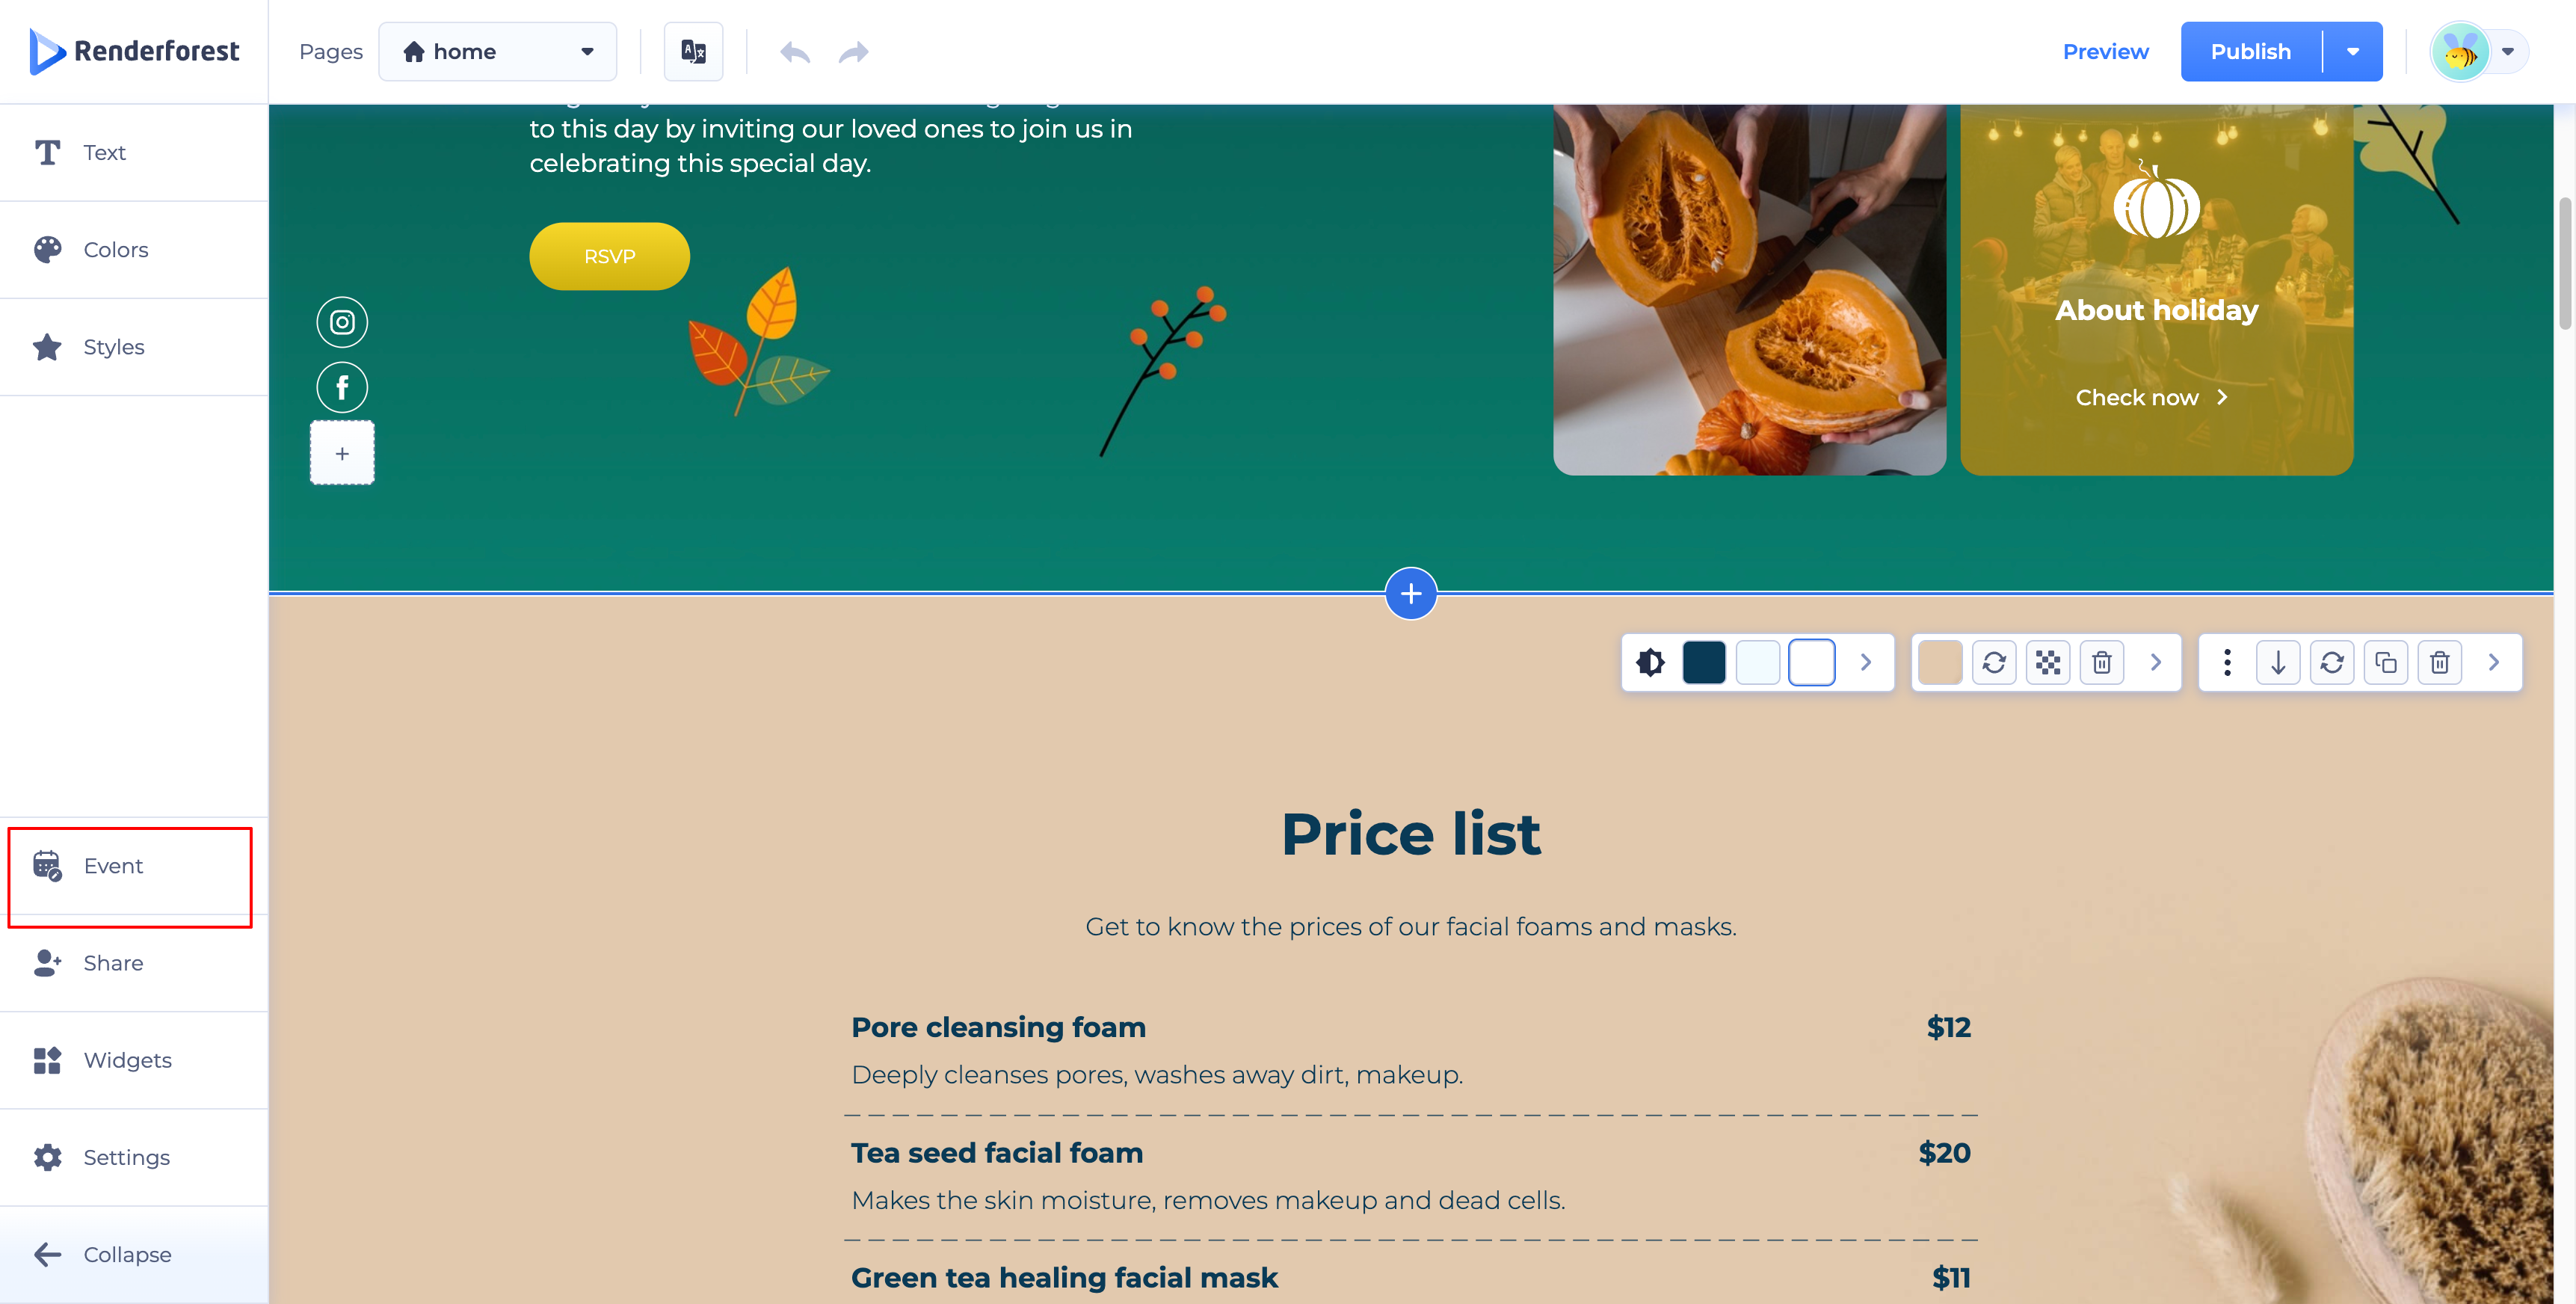
Event is a dedicated item in the left sidebar of the website editor, alongside Text, Colors, Styles, Share, Widgets, and Settings. Click it to open the Event settings window, which has seven sections: Details, Forms, Popups, Email, Settings, Guest list, and Translation.
Details
Event details are where you provide all the necessary information for your attendees. This section lets you set up the invitation's content — Subtitle, Title, and Paragraph — along with a Show time zone checkbox and Time zone dropdown, and the Date and Time fields.
Check Add end date if your event runs across a date range, and Add location to place your event on a map. Finally, set the title for the RSVP button.
A live preview on the right shows your changes as you make them.
Forms
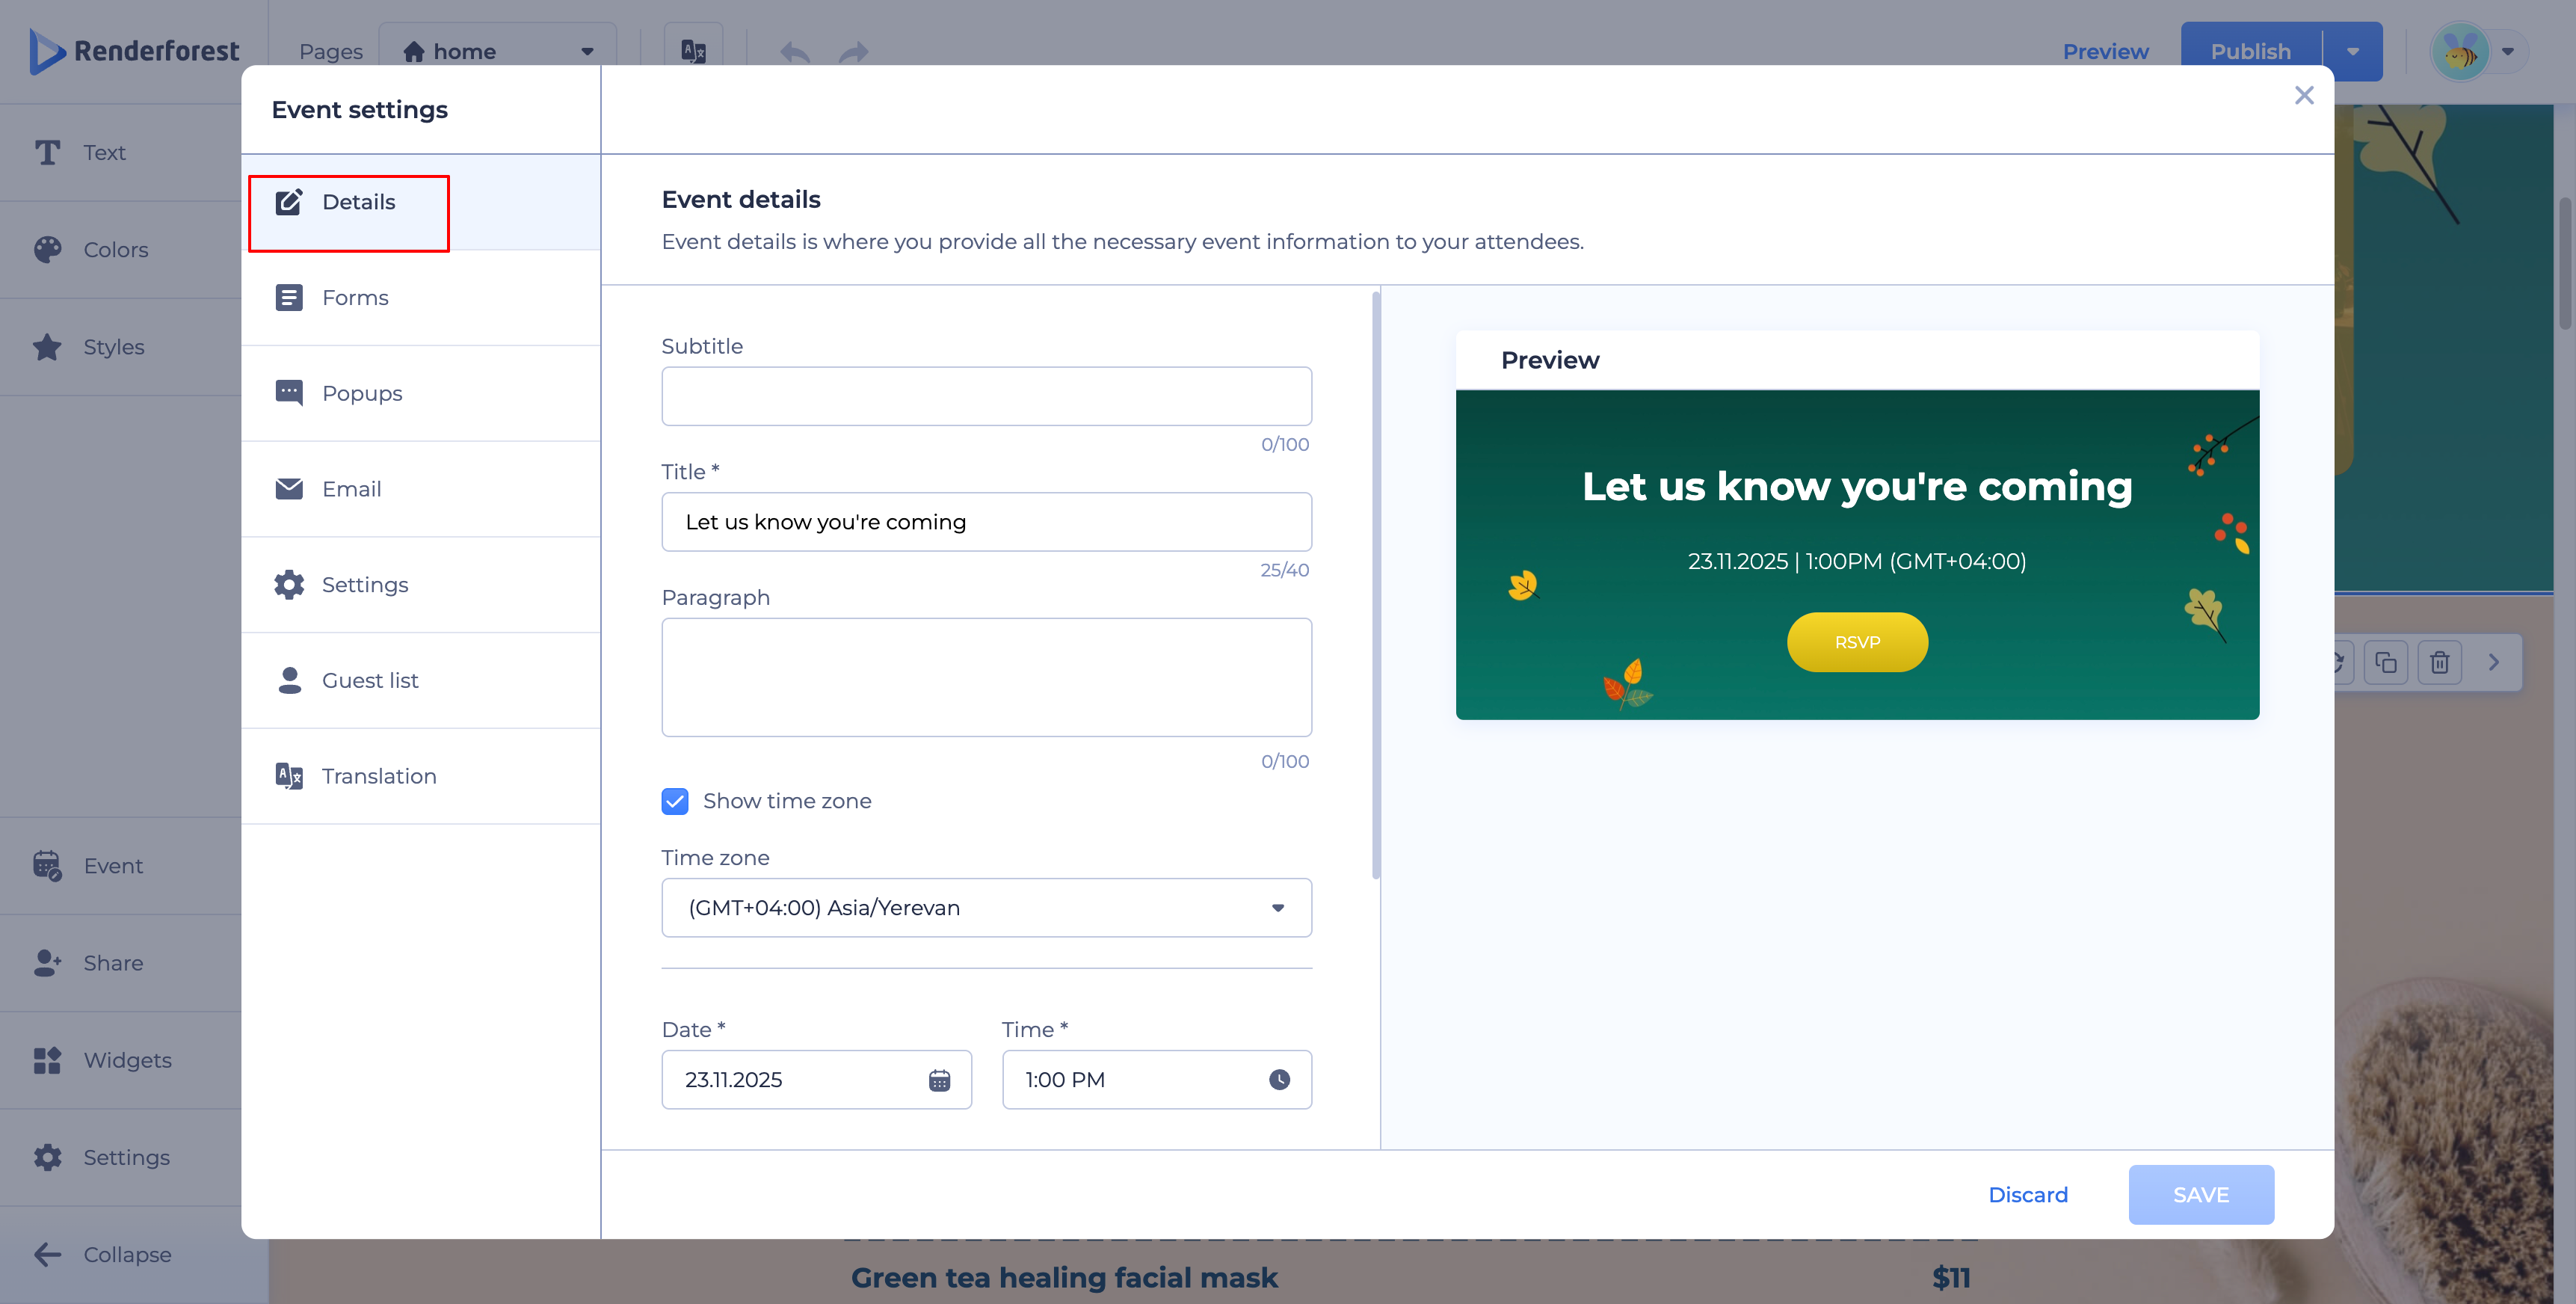
The Forms section is where you customize the registration form and its fields, checkboxes, and more.
The first option is RSVP option. Enabling this lets guests indicate whether they're attending, with editable Title, Yes, and No labels; when disabled, all responses are automatically treated as "yes."
Below that is the Contact form, where you set the field titles guests will see — First name, Last name, Email, and Phone number. The email and phone number fields have default validation, so they can't be swapped for another field type. The phone number field can be marked required or optional; the other contact fields are required by default.
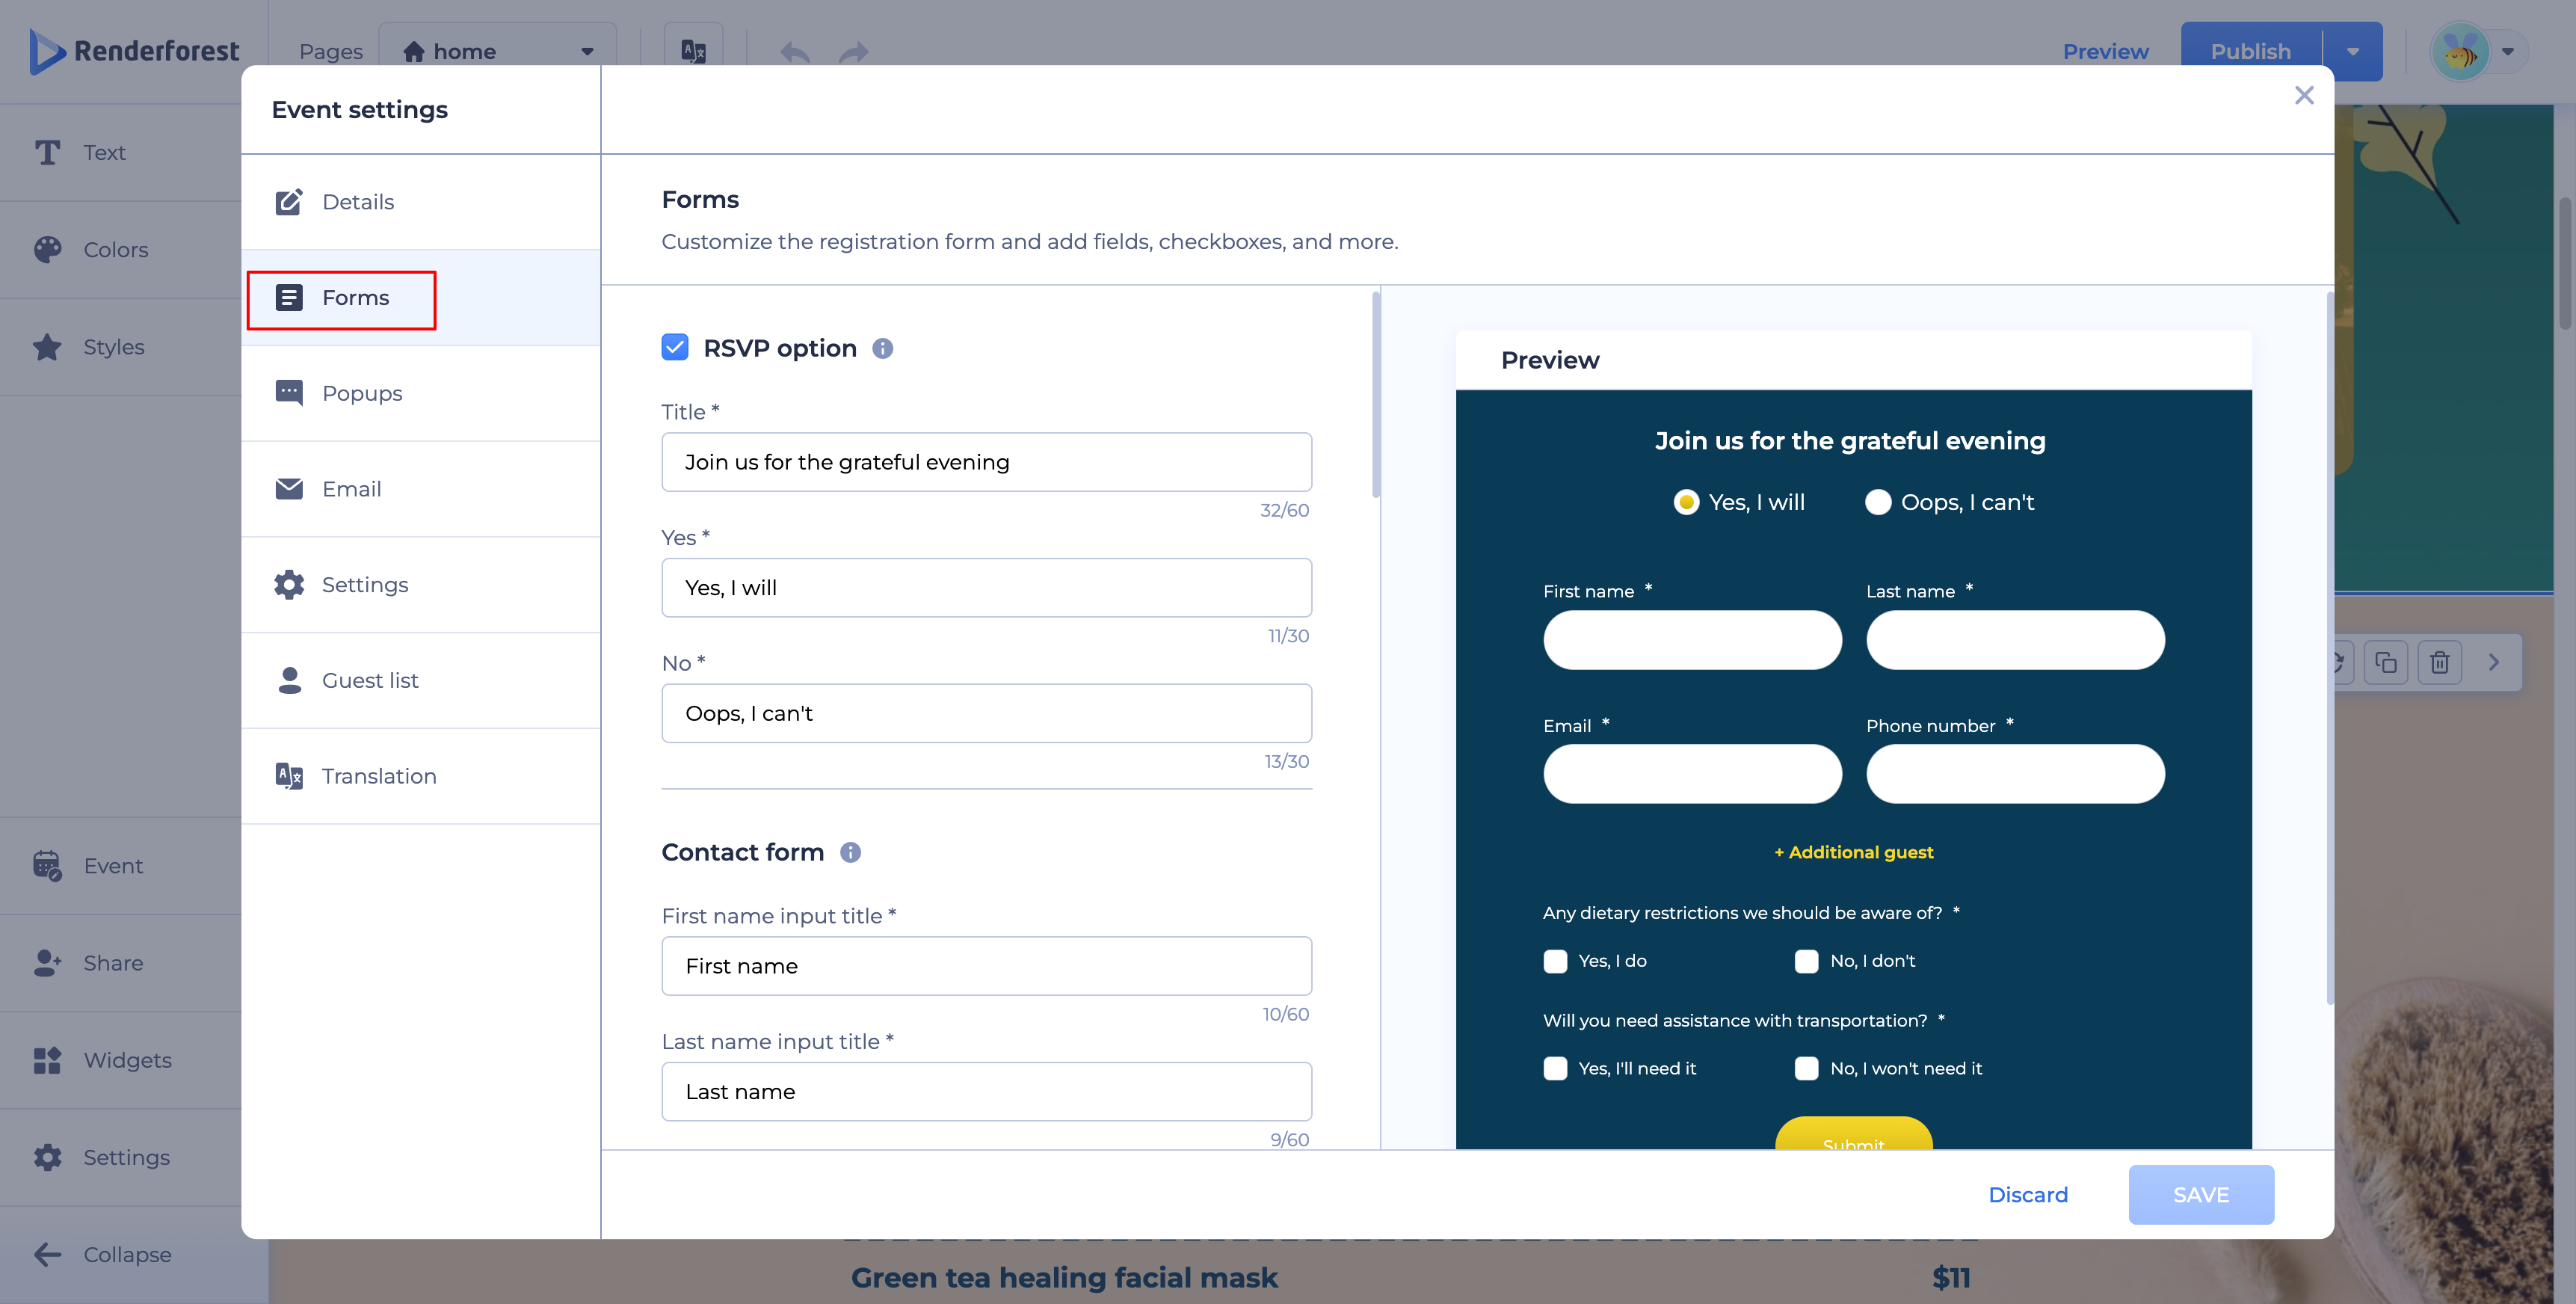
You can also add an option for the main guest to bring additional guests via the + Additional guest link, setting both the button title and the maximum number of extra guests allowed.
Further down, you can add custom questions to gather more details about guest preferences or accommodations, tailored to your event, with answers in three types:
- Text input — for open-ended answers.
- Radio buttons — for selecting a single option from a list, like a preferred language or payment method.
- Checkboxes — for selecting multiple options, like dietary restrictions or transportation needs.
Don't forget to adjust the submit button to match. A live preview on the right side of your workspace shows your changes as you make them.
Popups
This section lets you customize the message shown to guests, across three tabs: Yes, No, and Registration closed — the last one covering anyone who accesses the registration after the event's end date. Each tab has its own Title and Paragraph field.
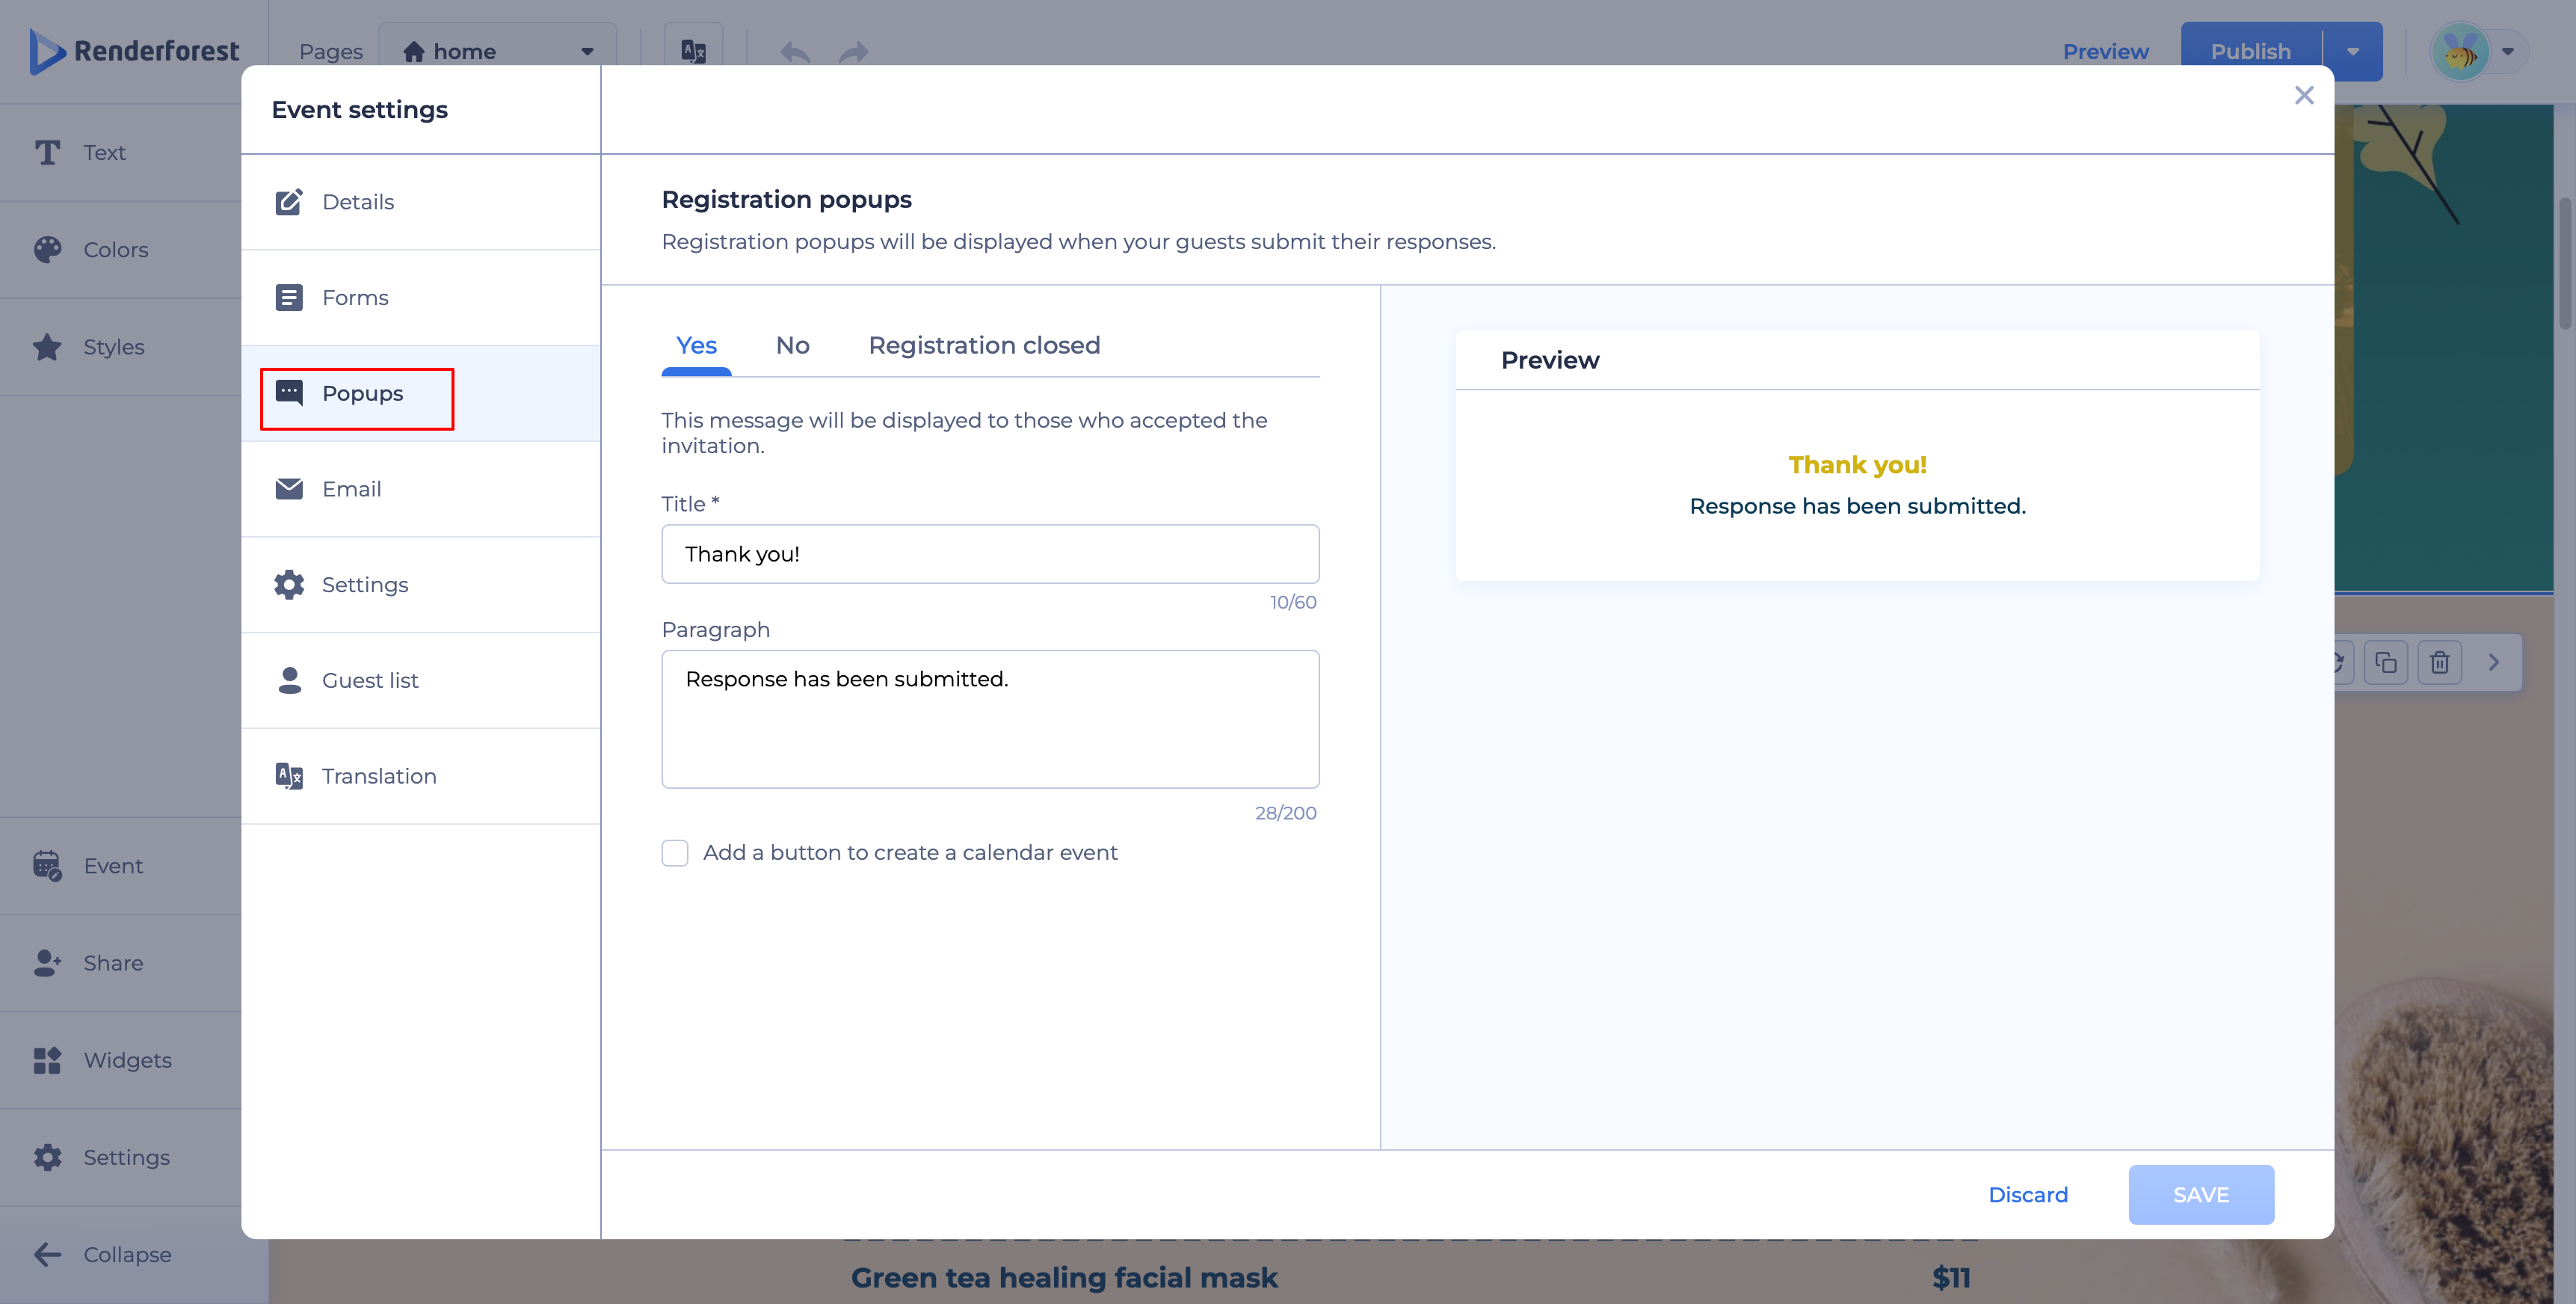
On the "Yes" tab, you can also check Add a button to create a calendar event, giving guests who confirm a direct link to add the event to their calendar.
The Email section lets you set up automated emails for your guests:
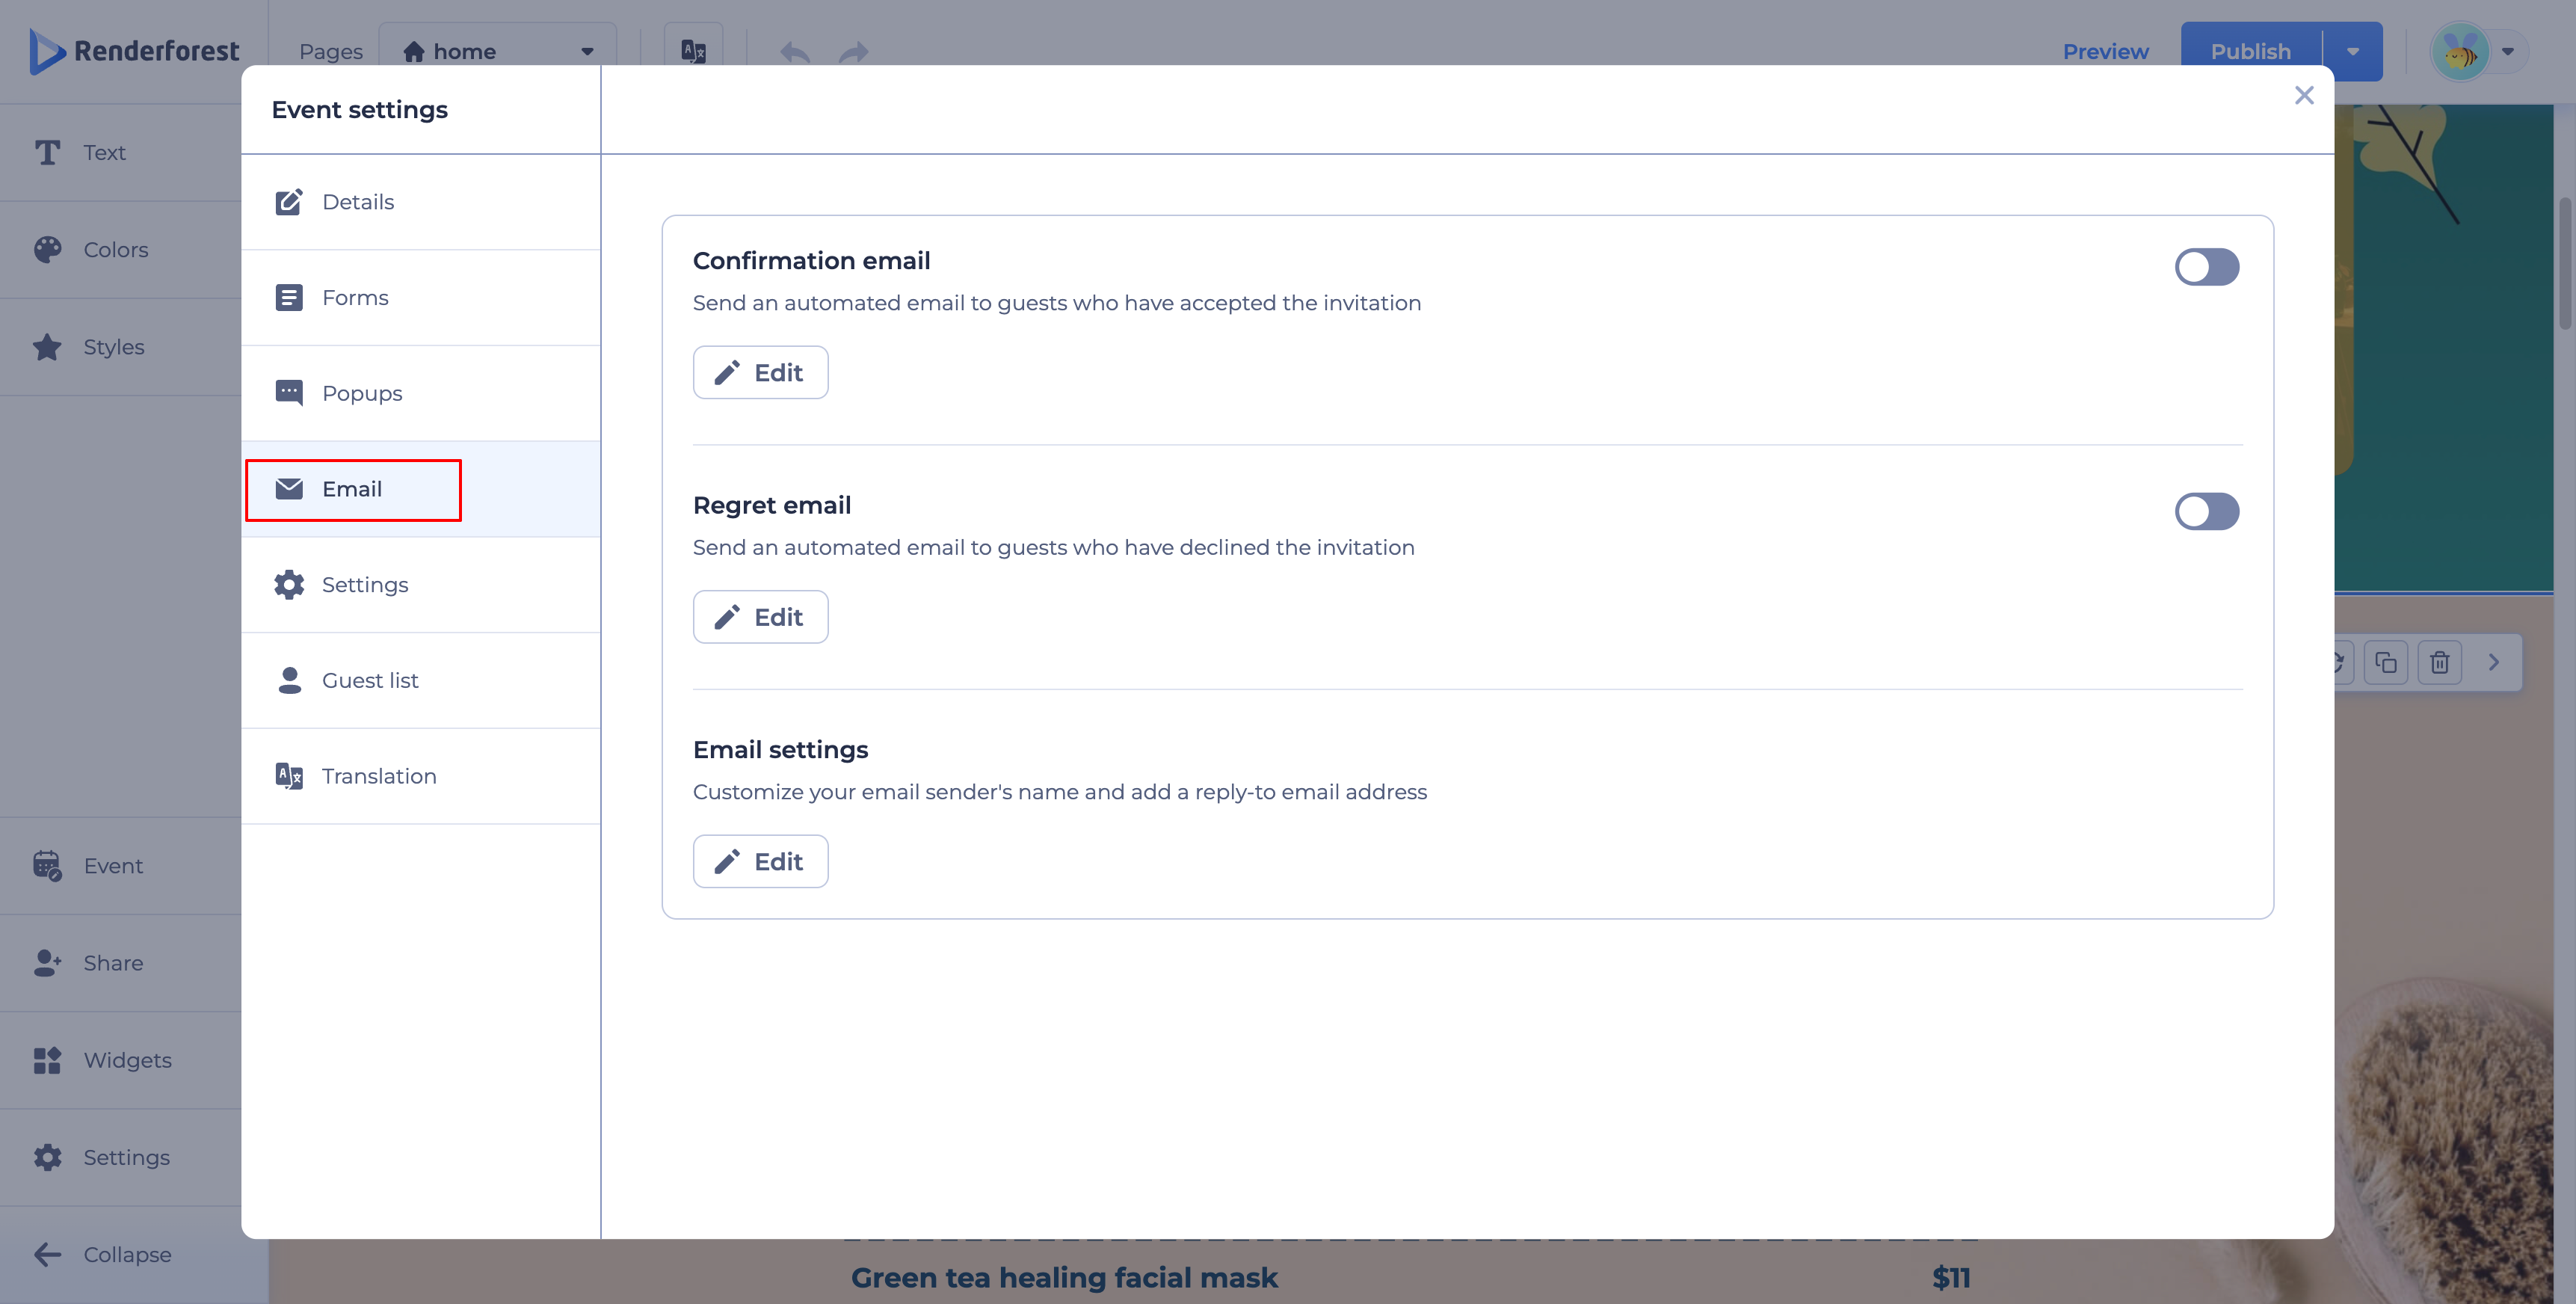
- Confirmation email — sends an automated email to guests who accept the invitation. Toggle it on and click Edit to customize it.
- Regret email — sends an automated email to guests who decline the invitation. Toggle it on and click Edit to customize it.
- Email settings — customize your sender's name and add a reply-to email address. Click Edit to configure.
Settings
Here, you can set the maximum number of RSVP submissions by specifying how many guests can attend — this limit includes both "yes" and "no" responses.
You can also upload a General social image (recommended size 1200x630px), used when your event page is shared on social media.
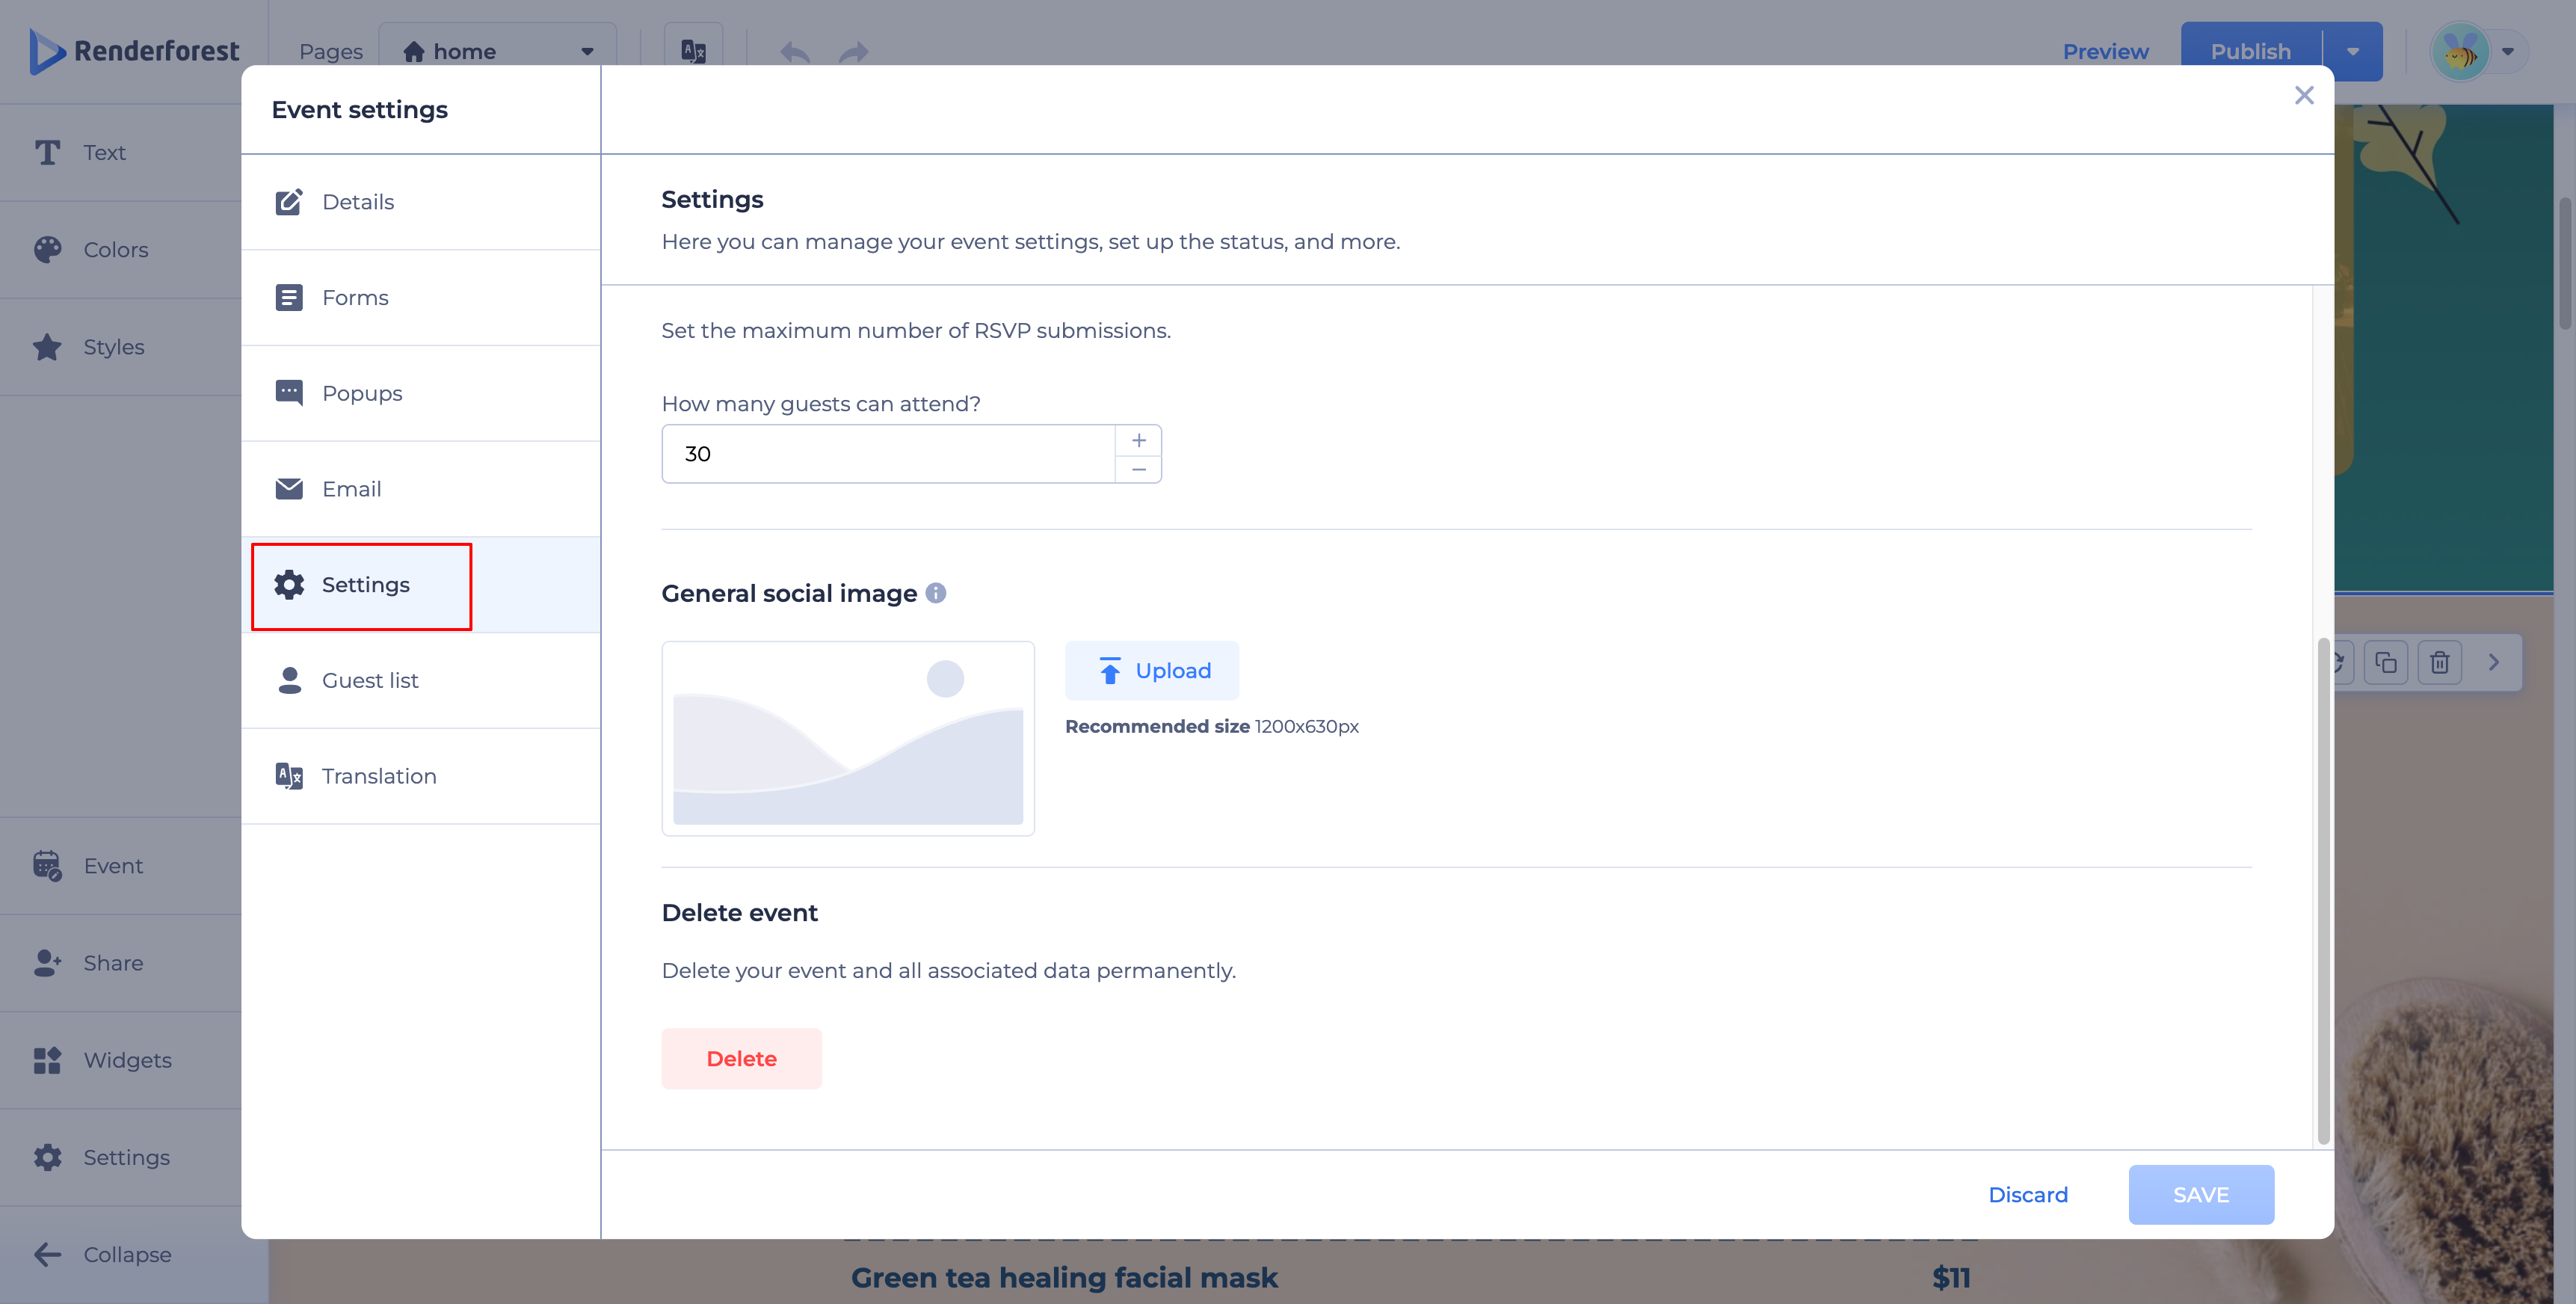
Finally, you can delete the event and all associated data permanently using the Delete button in this section.
Guest List
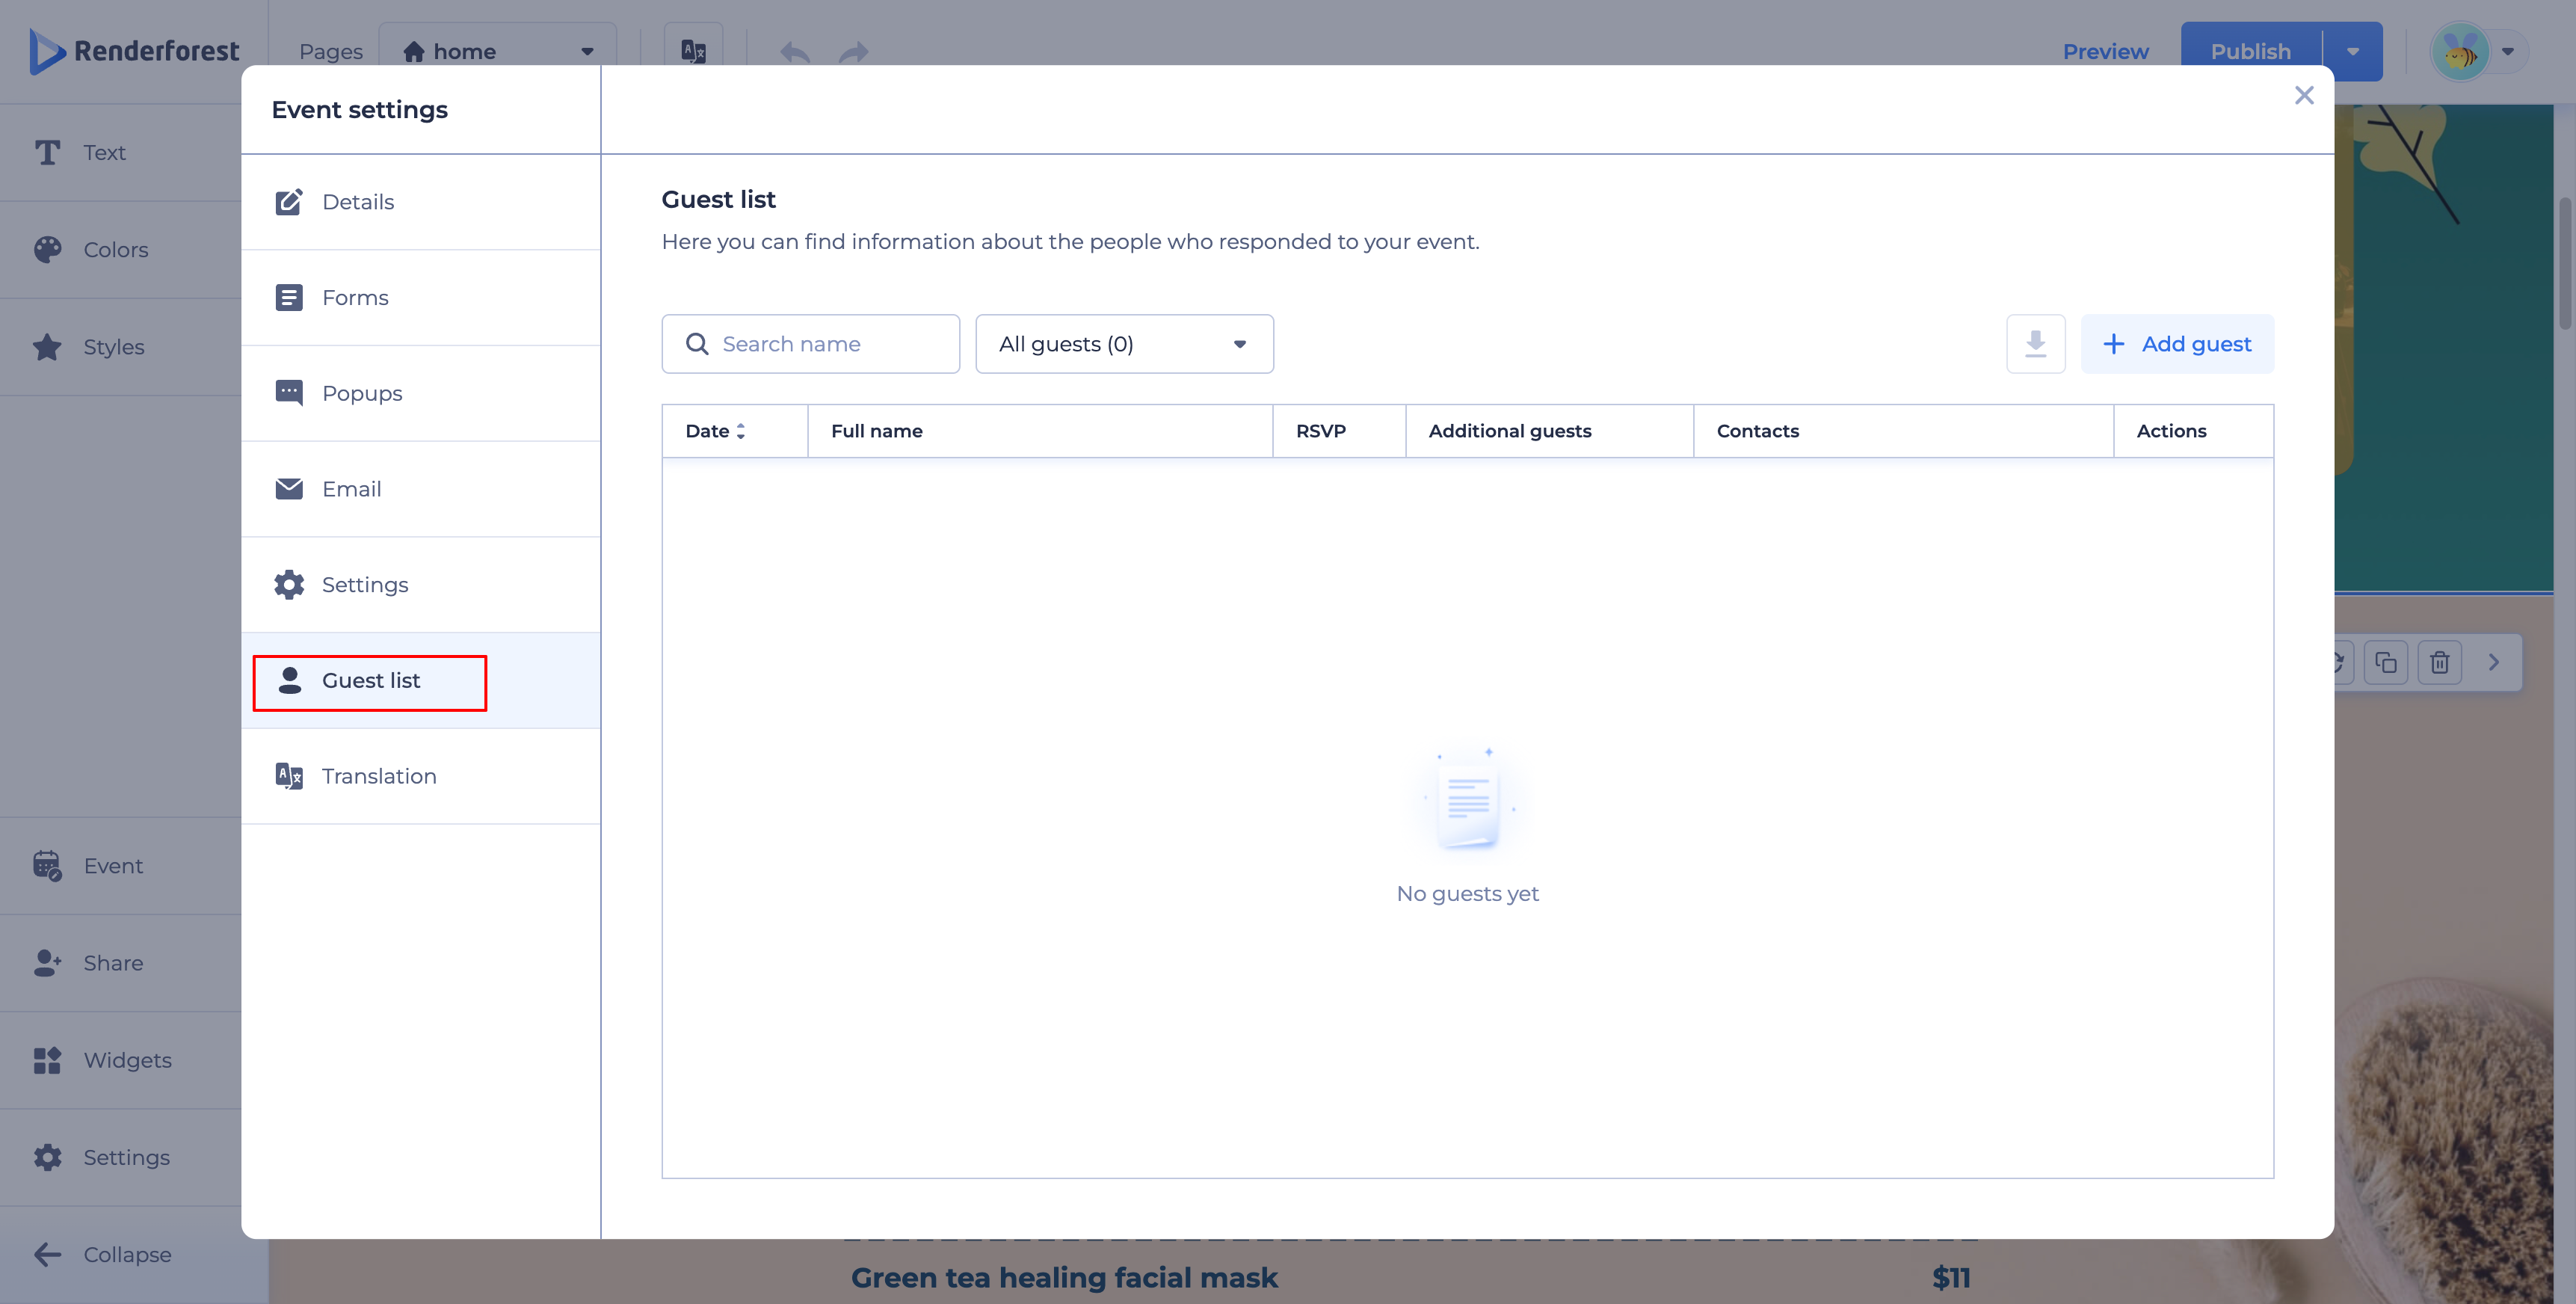
The Guest List section shows everyone who has responded to your event, in a table with Date, Full name, RSVP, Additional guests, Contacts, and Actions columns. You can search by name, filter by response using the All guests dropdown, download the list, or manually add a guest with + Add guest.
Translation
This section lets you translate your event content into multiple languages. It's only available if your website is multilingual.
Was this article helpful?
That’s Great!
Thank you for your feedback
Sorry! We couldn't be helpful
Thank you for your feedback
Feedback sent
We appreciate your effort and will try to fix the article